Last month, a Colorado Springs homeowner watched an adjuster spend 18 minutes on his roof after a severe hailstorm. The damage looked obvious—dented gutters, bruised shingles, broken ridge vents. The adjuster’s assessment? “$4,200 for repairs. Normal wear and tear on a 12-year-old roof.”
The homeowner got a second opinion. The actual damage? $14,800 in legitimate storm damage that insurance should have covered.
This happens every single day.
Here’s what most homeowners don’t realize: insurance adjusters aren’t trying to find all your damage—they’re trying to find the minimum they can justify paying. It’s not personal. It’s not even necessarily malicious. It’s their job.
Understanding how adjusters evaluate damage is the difference between accepting a lowball settlement and getting what your policy actually owes you.
The One Thing Every Homeowner Gets Wrong About Adjusters
Most people think adjusters show up to assess damage objectively and determine what insurance should pay.
That’s not how it works.
Adjusters work for the insurance company. Their performance is measured by how much money they save the company, not by how fairly they treat policyholders. They’re trained in techniques to minimize claims, identify exclusions, and document pre-existing conditions.
The single concept you need to burn into your memory:
Adjusters are professional claim reducers.
They’re good at their job. They use standardized software (Xactimate), they follow carrier-specific guidelines, and they know exactly which damage to emphasize (aging, maintenance issues) and which to overlook (legitimate storm damage).
This isn’t a conspiracy theory. This is reality in insurance claims.

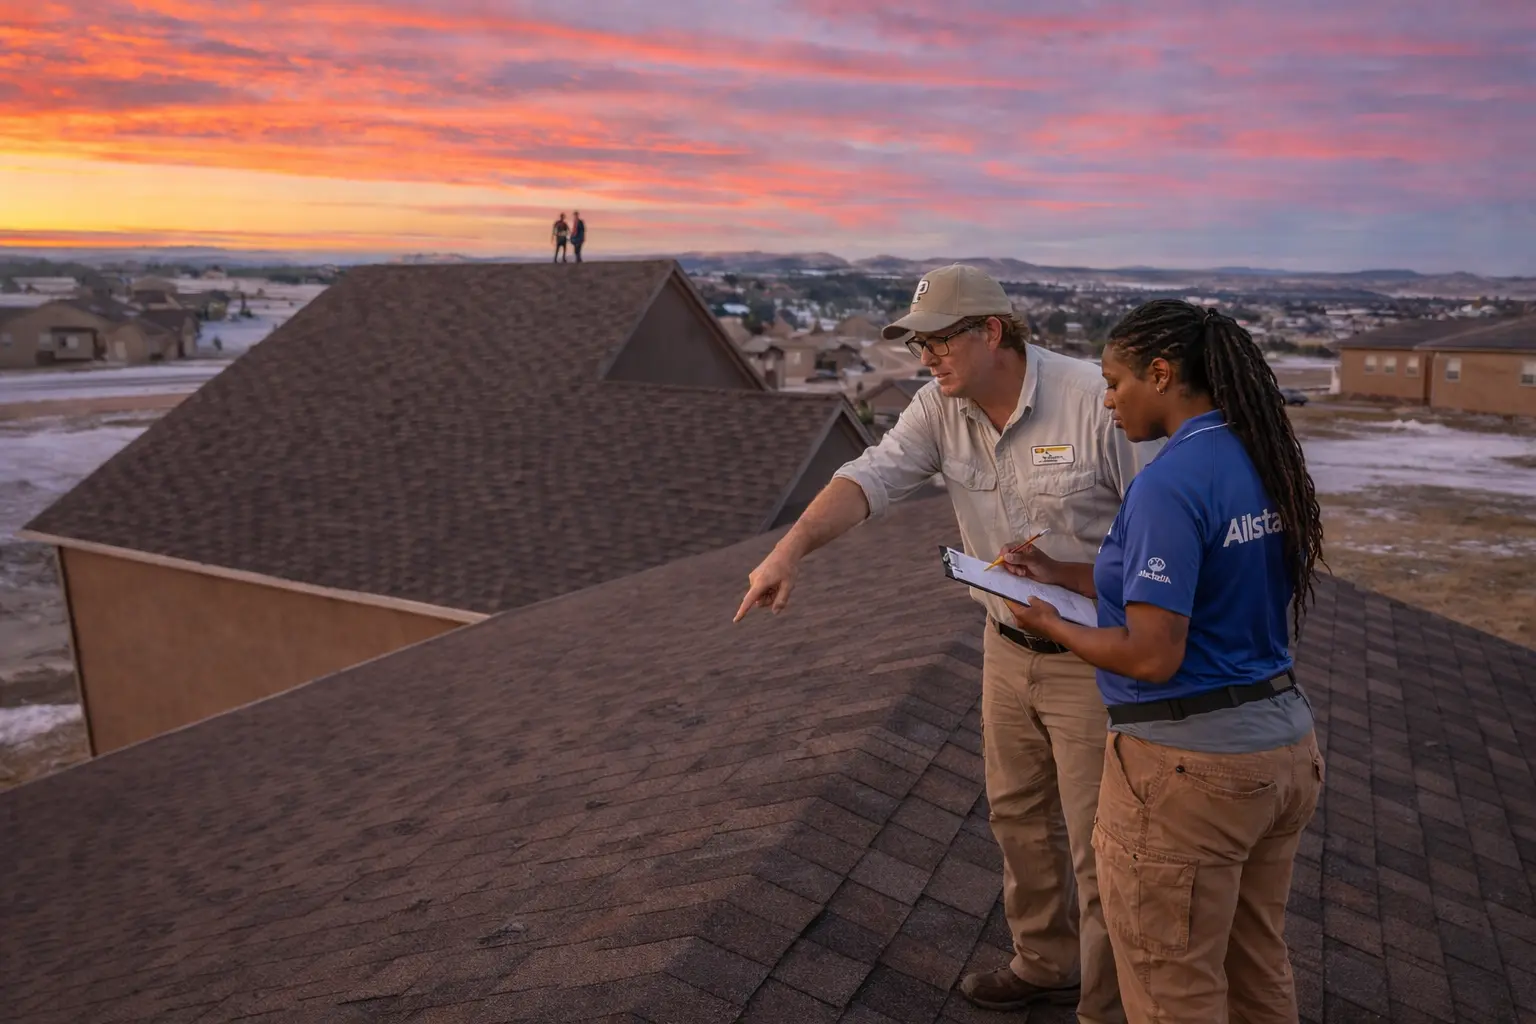
What Insurance Adjusters Actually Look For During Roof Inspections
When an adjuster arrives at your property, they’re running through a mental checklist. Here’s what they’re actually evaluating:
- Determining If Damage Is “Storm-Related”
- They note roof age immediately (older roofs are easier to dispute)
- They photograph moss, algae, or weathering as “pre-existing conditions”
- They measure hail impacts inconsistently (downplaying smaller dents)
- They ignore damage patterns that clearly indicate storm events
- Determining If Damage Is “Storm-Related”
- They estimate roof age based on visual inspection (often overstating age)
- They apply depreciation to materials that shouldn’t be depreciated
- They use “actual cash value” calculations that dramatically reduce payouts
- They claim recoverable depreciation “isn’t guaranteed” even when policies say otherwise
- Identifying “Pre-Existing Conditions”
- Minor weathering becomes “advanced deterioration”
- Missing granules from normal aging become the explanation for hail damage
- Small maintenance issues become evidence of “homeowner neglect”
- They photograph aging signs while ignoring fresh storm damage
What they claim to look for: Evidence that damage was caused by a specific weather event (hail, wind, storm).
What they’re actually doing: Looking for ANY reason to classify damage as “wear and tear” instead of storm damage.
How they do it:
What they claim to do: Apply standard depreciation based on your roof’s age and condition.
What they actually do: Maximize depreciation to reduce the payout, often applying it more aggressively than policy language requires.
How they do it:
What they claim to look for: Damage that existed before the storm event.
What they’re actually doing: Finding ANY aging indicators to exclude legitimate storm damage from coverage.
How they do it:
The 3 Tactics Adjusters Use to Minimize Your Claim
After working with every major carrier for over a decade, I’ve seen these tactics used repeatedly:
Tactic #1: The “Wear and Tear” Narrative
How it works: The adjuster builds a story that your damage was inevitable due to age, not caused by the storm.
What you’ll hear:
- “This roof was nearing the end of its life anyway”
- “These shingles show significant weathering”
- “The granule loss is consistent with normal aging”
The truth: Aging materials can still suffer storm damage. A 15-year-old roof that was functional before hail should be covered for hail damage—the age affects depreciation, not coverage.
How to counter: Have dated photos of your roof’s condition before the storm. Document that the roof was performing properly until the weather event.
Tactic #2: Depreciation Manipulation
How it works: Applying depreciation beyond what your policy actually requires, reducing your settlement substantially.
What you’ll hear:
- “These shingles show significant weathering”
- “This roof was nearing the end of its life anyway”
- “The granule loss is consistent with normal aging”
The truth: Depreciation calculations should follow your specific policy language. Many policies guarantee full replacement cost value, not depreciated actual cash value.
How to counter: Read your policy’s depreciation clause. Many homeowners are entitled to replacement cost value, not the reduced ACV the adjuster initially offers.
Tactic #3: The Rushed Inspection
How it works: Spending minimal time on the roof, missing damage, and creating an incomplete assessment.
What you’ll see:
- 15-20 minute inspections for complex damage
- Photos from only one area of the roof
- No interior inspection despite visible ceiling stains
- Leaving immediately after walking the roof
The truth: A thorough inspection takes 60-90 minutes. Quick inspections miss damage—intentionally or not.
How to counter: Attend the inspection. Take your own photos. Ask the adjuster to inspect specific areas where you’ve documented damage.
How to Protect Yourself Before the Adjuster Arrives
The work you do BEFORE the adjuster shows up determines whether you get a fair settlement.
Document Everything Yourself First
Take comprehensive photos:
- Overall roof condition from all sides
- Close-ups of visible damage (dents, cracks, missing shingles)
- Surrounding property damage (gutters, siding, vents)
- Interior damage (ceiling stains, attic leaks)
- Date-stamp everything
Create a damage inventory:
- List every area of damage you can see
- Measure hail impacts (use a quarter for scale in photos)
- Note patterns (damage concentrated on south-facing slope, etc.)
- Document the weather event (date, severity, news reports)
Get Independent Documentation
Why this matters: Your documentation carries more weight when it comes from a professional using the same tools and standards as the insurance adjuster.
What to get:
- Professional roof inspection report
- Xactimate estimate from an independent consultant
- Detailed damage assessment with measurements
- Photo documentation from a neutral third party
Important: This should be from an independent consultant, not a contractor bidding the work. Contractors have a conflict of interest. Consultants document objectively.
Know Your Policy Inside Out
Read these sections carefully:
- Coverage limits and exclusions
- Depreciation clauses (RCV vs. ACV, sliding scale schedules for older roofs)
- Deductible amount and how it’s applied
- Time limits for filing claims
- Your rights to dispute assessments
Key questions to answer before the adjuster arrives:
- Am I entitled to replacement cost value or actual cash value?
- What’s my deductible and how is it calculated?
- Does my policy cover code upgrades required for replacement?
- What’s the process if I disagree with the adjuster’s assessment?
What Happens During the Adjuster’s Inspection
Understanding the process helps you know what to expect and when to ask questions.
The Exterior Walk-Around
What they do: Inspect property perimeter, gutters, siding, visible roof damage from ground level.
What you should do:
- Point out specific damage you’ve documented
- Ask them to photograph areas you’ve identified
- Take your own photos of what they’re examining
The Roof Inspection
What they do: Climb onto the roof, examine shingles, vents, flashing, and structural elements.
What you should do:
- Point out specific damage you’ve documented
- Ask them to photograph areas you’ve identified
- Take your own photos of what they’re examining
Interior Damage Assessment
What they do: Check for ceiling stains, attic leaks, water damage.
What you should do:
- Show them all interior damage you’ve found
- Point out any secondary damage (insulation, drywall, mold)
- Ask them to document everything, not just obvious issues
Interior Damage Assessment
What they’ll say: Summary of findings, initial damage assessment, what happens next.
What you should ask:
- Do you work directly for [carrier name], or are you a third-party contractor?
- What specific damage did you find and document?
- What damage are you excluding and why?
- When will I receive the written estimate?
- When will I receive the written estimate?
- What’s the process if I disagree with your assessment?
- Can I get copies of your photos and measurements?
- Who is the desk adjuster and how do I contact them directly?
What they usually say: “I’m just here to document the damage. I don’t make coverage decisions—that’s handled by the desk adjuster back at the office. You’ll receive their determination in 7-10 business days.”
What this really means: The field adjuster collects evidence, but a separate adjuster you’ll never meet makes the actual payout decision based on that documentation. If the field adjuster missed damage or mischaracterized it, the desk adjuster will deny it—and you won’t know until the letter arrives.
Red Flags: When to Question the Adjuster’s Assessment
Immediate red flags:
- The inspection took less than 30 minutes A thorough inspection requires time. Quick inspections miss damage.
- They only inspected one section of the roof Storm damage affects multiple areas. Partial inspections are incomplete.
- They claimed “no storm damage” after a documented severe storm If neighbors got approvals and you didn’t, something’s wrong.
- Their estimate is 40%+ lower than contractor estimates Significant gaps suggest missed damage or inappropriate depreciation.
- They classified clear storm damage as “wear and tear” Hail dents aren’t aging. Wind-torn shingles aren’t maintenance issues.
- They rushed you to sign anything during the inspection Never sign acknowledgments of damage assessments on the spot.
Your Rights During the Claims Process
You have more power than adjusters want you to know:
You have the right to:
- Request a different adjuster if you’re uncomfortable with the first one
- Have your own contractor or consultant present during the inspection
- Obtain a copy of the adjuster’s estimate and photos
- Dispute the assessment through your insurance company’s appeals process
- Hire a public adjuster to represent your interests
- Request an appraisal if you and the carrier can’t agree on damage value
- You have a right to file a complaint with Colorado Division of Insurance (DORA) if you feel you are being treated unfairly
You are NOT required to:
- Accept the first settlement offer
- Use the contractor the insurance company recommends
- Allow the inspection without your representative present
- Sign anything during the initial inspection
Frequently Asked Questions
Here is a question
How long does an adjuster inspection take?
Can I have my own contractor present?
What if I disagree with the adjuster’s estimate?
Do adjusters work on commission?
Can I request a different adjuster?
Get Expert Help Protecting Your Claim
I attend adjuster meetings, document damage using methods insurance companies can’t dispute, and guide Colorado Springs homeowners through carrier-specific claim processes from filing through settlement.
If you’re facing an adjuster inspection or questioning an assessment you’ve already received, let’s talk.